Features
Applications
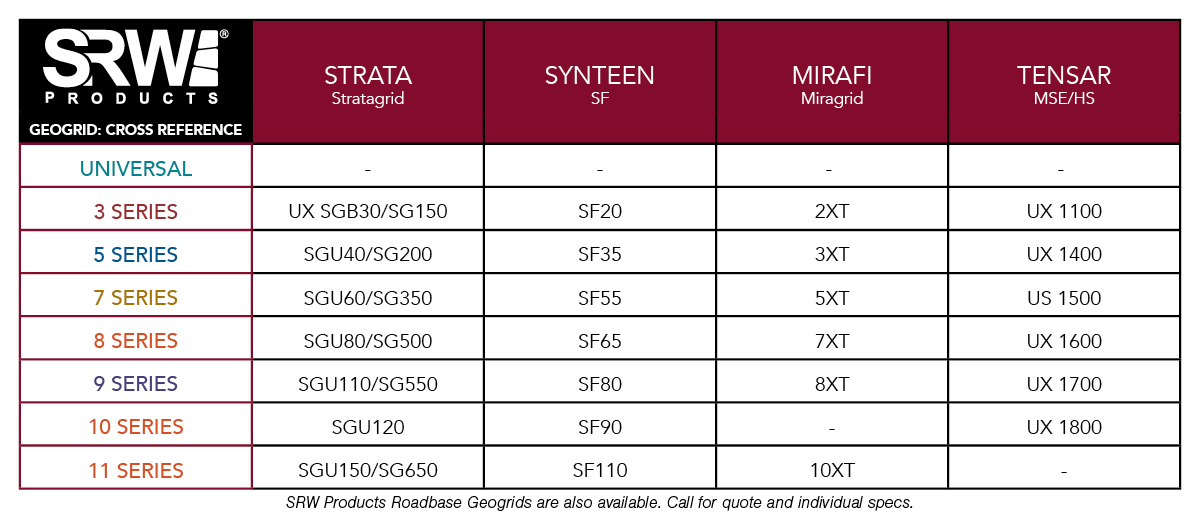
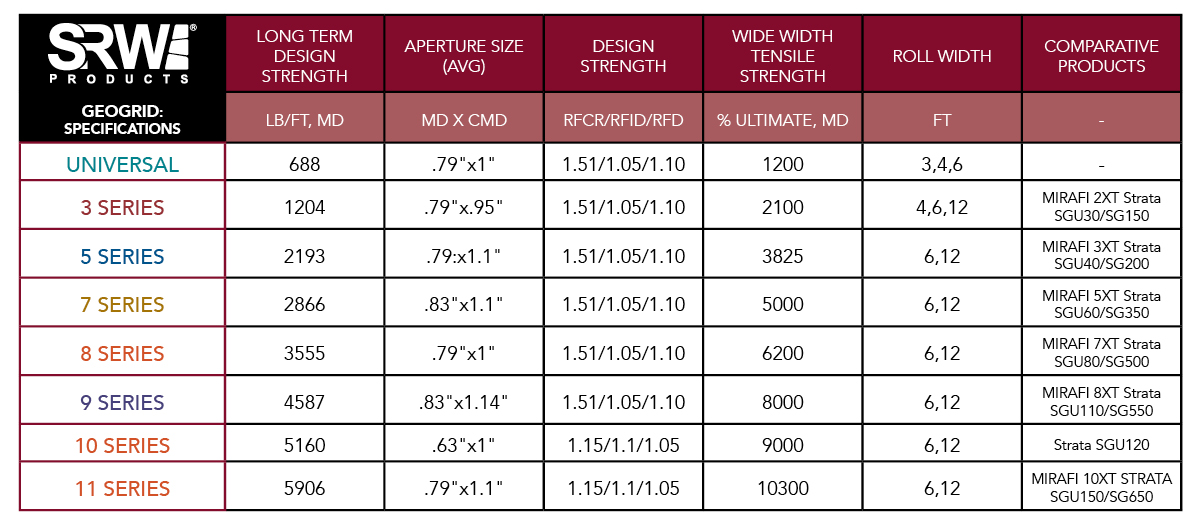
Comparison Charts
Product Details
Features
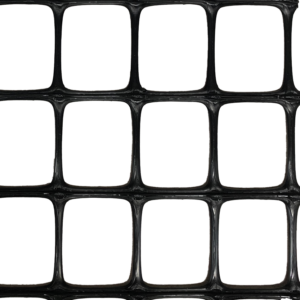
- Adds strength and longevity to retaining walls
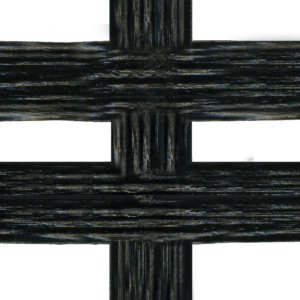
- Provides excellent stress transfer
- Helps prevent wall failure
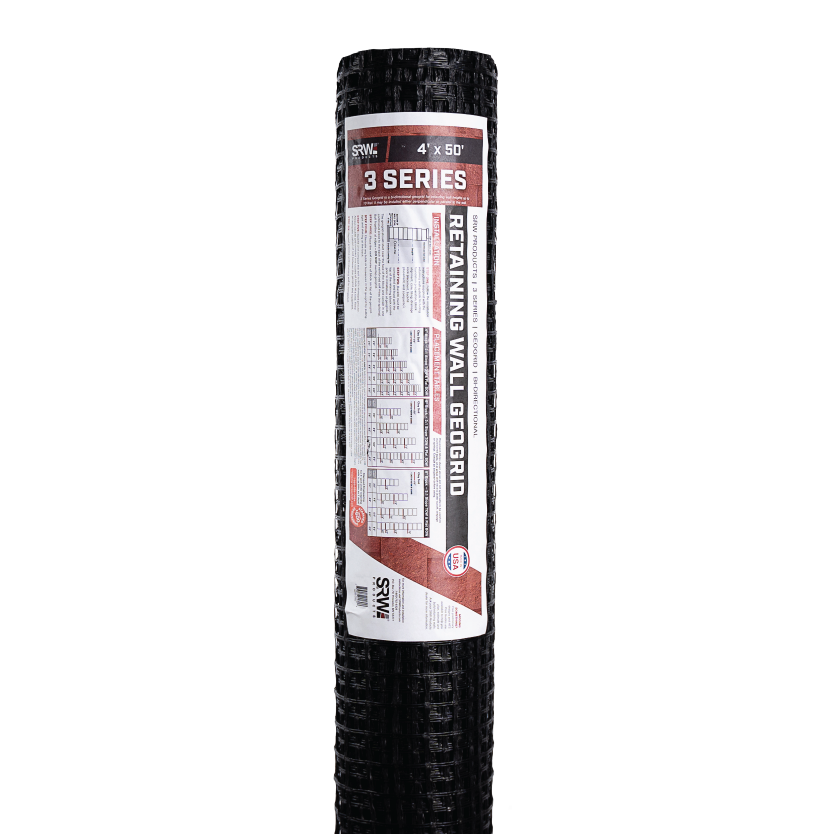
- Easy to handle roll sizes
- Designed for walls up to 10’
- LTDS of 1161 lb/ft.
Applications
- Retaining walls
- Steep slopes
Comparison Charts
Product Details
3 Series | Bi-Directional | LTDS 1161 | Walls up to 10´
| PART NUMBER | SIZE | SQ YDS/ROLL | QUANTITY |
| GSRW 3450 | 4’x50′ | 22.22 | 9/CTN |
| GSRW 365 | 6’x50′ | 33.33 | 80/PLT |
| GSRW 3615 | 6’x150′ | 100.00 | 30/PLT |
| GSRW 31215 | 12’x150′ | 200.00 | 3/BNDL |